


KVM virtualization on ARM Chromebook laptop
A guide on using KVM for the Exynos5250-based Chromebook laptop
This is a step by step guide made available by Virtual Open Systems to deploy KVM hypervisor and experience KVM full virtualization on a real consumer laptop, based on Cortex-A15 multi-core ARM processors. This guide showcases how to enable KVM on Samsung's ARM Chromebook, allowing the usage of multiple popular operating systems (ChromeOS, Ubuntu, Android).
Introduction
Until mid 2012, the majority of work being done on the port of KVM for the ARM architecture, was through Fast Models. Due to the scarcity of real Cortex-A15 hardware, Fast Models proved to be a crucial tool to jump-start the development of the project. But while it provides a direct and easy to use alternative, it has major shortcomings in regard to performance and time linearity depending on the work load.
At a later stage, ARM's Versatile Express platform was added as a real hardware target, and while it has been a valuable tool for early development of any kind, its bulky size, low availability and user base, but especially its prohibitive cost, makes it unrealistic for people outside the enterprise sector.
Currently Cortex-A15/A7 are mature enough, and more parties start to implement their own platforms/solutions based on ARMv7 and the Virtualization Extensions. Samsung has released the Exynos5250 platform which incorporates a dual-core Cortex-A15 at 1.7 GHz and a Mali-T604 GPU on a 32nm package. The next version of Exynos will scale even further, by using a big.LITTLE architecture with 1.8 GHz quad-core Cortex-A15 together with a quad-core Cortex-A7 at 1.2 GHz.
Exynos5250 as of today is already found in Samsung's ARM Chromebook, the Google Nexus 10 and a development board from Insignal, the Arndale. In this guide we will describe in detail, how to setup a complete virtualization system on the ARM Chromebook, covering low level subjects, such as how to compile a KVM compatible bootloader, upto the creation of Ubuntu userspace binaries and the use of guests under such a setup.
Requirements
The basic requirements of this guide are:
 Samsung's ARM Chromebook laptop
USB flash disk, SD or microSD (with adapter) card (4 GB or more recommended)
Personal computer with Ubuntu 13.04 or similar distribution
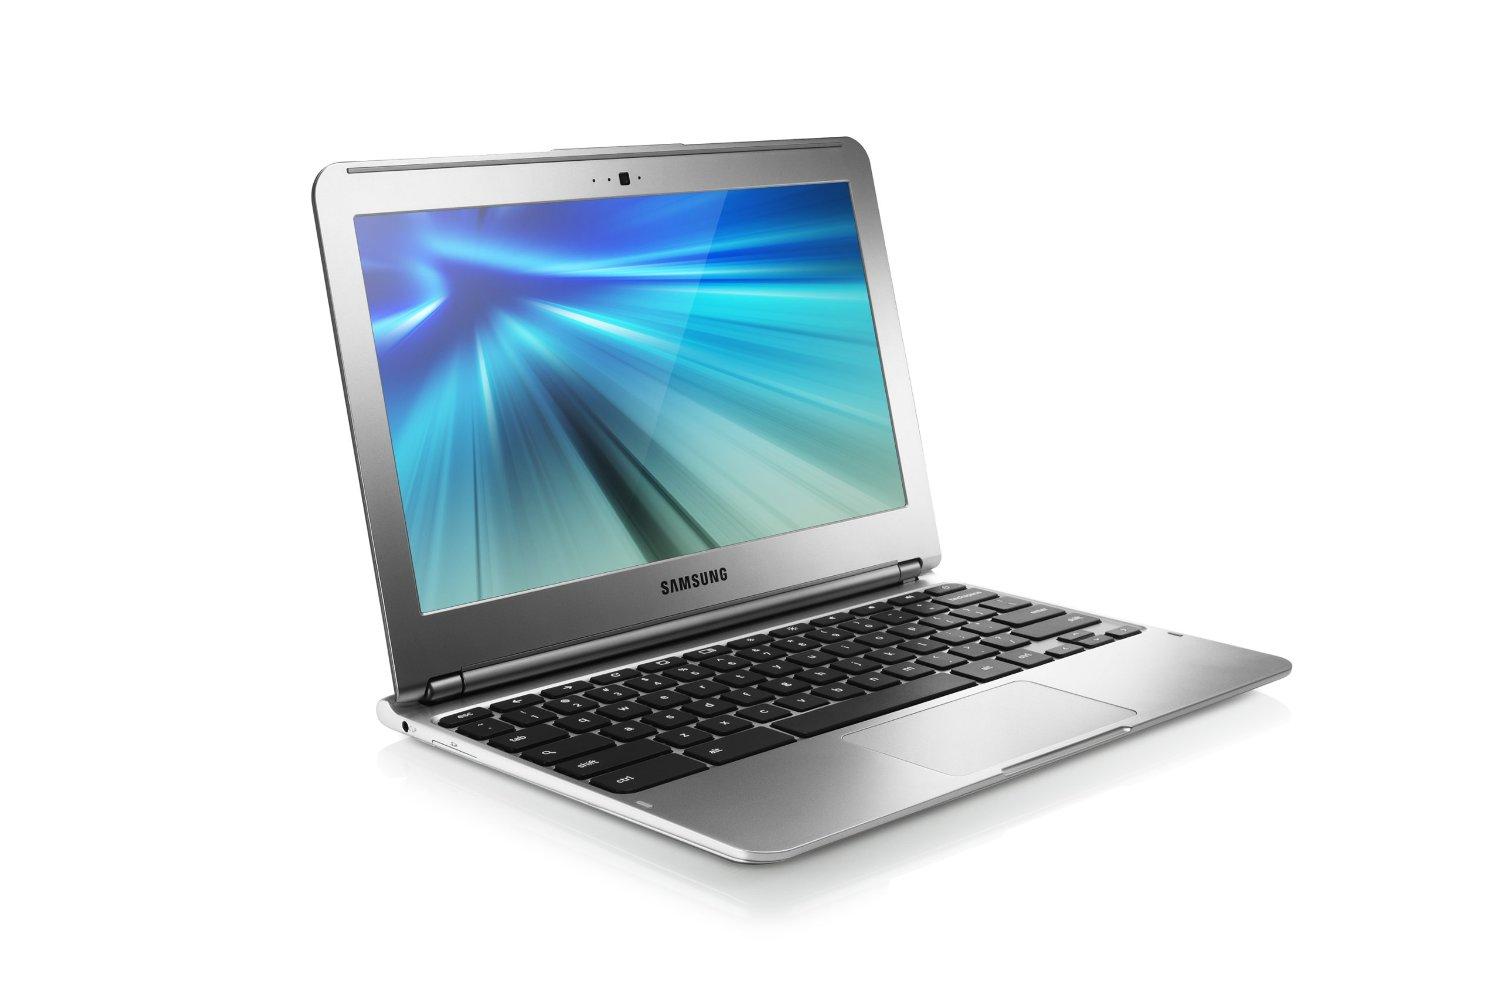
The ARM Chromebook
Preparing Chromebook
Attention!
Virtual Open Systems is not responsible for any damage that you may cause to your device by following the instructions below. While the contents of this guide have been tested thoroughly, Virtual Open Systems cannot guarantee that possible user error cannot harm the device.
By enabling Developer Mode all your personal data and settings in the device will be lost, essentially rolling the Chrome OS installation to factory defaults. This effect unfortunately cannot be avoided, and it is enforced every time you change modes.
For security reasons Samsung's Chromebook comes with a verified BIOS that disallows non-verified binaries to be executed on the system. For this guide we are going to boot our own kernel and userland, so we must disable such features. To do this we need to invoke Recovery Mode and from there enable Developer Mode.
To enable Developer Mode:
With the laptop turned off, hold down the escape and refresh keys, then press the power key.
The device is now in Recovery Mode, pressing Ctrl-D will enable Developer Mode.
Confirm the action by pressing Enter.
On the next boot of the laptop press Ctrl-D once again on the OS verification is OFF screen.
The laptop will then start preparing itself for Developer Mode. Every time you turn on the device press Ctrl-D to boot the default installation of Chrome OS.
Booting from USB or SD
By default, even in Developer Mode, booting from external media is disabled. We will first have to boot into Chrome OS to enable USB or SD/microSD booting.
From a powered-off state:
Press the power key, then Ctrl-D in the OS verification screen.
When the system is in the login screen, press Ctrl-Alt + ->, which is Control + Alt + Forward key (forward key is located right next to the refresh key).
In the console terminal login with the account root (no password should be asked)
Type crossystem dev_boot_usb=1
Now every time we reboot, we can boot from an external source (USB or SD), by pressing Ctrl-U.
Creating a bootable system
In order to create a basic bootable system on the Chromebook laptop, we need the following:
Cross compiler and required packages
Host Linux kernel
Bootloader
Filesystem
Cross compiler and required packages
To complete the next steps we need to install a cross compiler, and a couple of required packages on our workstation's distribution (Ubuntu 13.04):
$ sudo apt-get install build-essential git u-boot-tools qemu-user-static gdisk cgpt \
                       libncurses5-dev flex bison vboot-kernel-utils debootstrap
And for the cross compiler:
$ sudo apt-get install gcc-arm-linux-gnueabihf
Compiling the host and guest Linux kernel
Pre-compiled kernel images and DTB files can be downloaded from our site:
$ wget http://www.virtualopensystems.com/downloads/guides/kvm_on_chromebook/uImage
$ wget http://www.virtualopensystems.com/downloads/guides/kvm_on_chromebook/guest_zImage
$ wget http://www.virtualopensystems.com/downloads/guides/kvm_on_chromebook/exynos5250-snow.dtb
$ wget http://www.virtualopensystems.com/downloads/guides/kvm_on_chromebook/rtsm_ve-cortex_a15x1.dtb
For Chromebook we use as a base version the mainline 3.13 branch which also includes KVM on ARM support. To download the kernel from the Virtual Open Systems repository, follow these steps:
$ git clone git://github.com/virtualopensystems/linux-kvm-arm.git
$ cd linux-kvm-arm
$ git checkout origin/chromebook-3.13 -b chromebook-3.13
For the kernel configuration specific to the laptop run:
$ curl http://www.virtualopensystems.com/downloads/guides/kvm_on_chromebook/config > .config
We can now proceed with compiling the actual kernel:
$ ARCH=arm CROSS_COMPILE=arm-linux-gnueabihf- make uImage dtbs -j4
Copy arch/arm/boot/uImage and arch/arm/boot/dts/exynos5250-snow.dtb in a location that you can find later, as now we can proceed with compiling the guest kernel
The guests that we will create later will be based on the Versatile Express QEMU machine model. For we will use a different kernel branch specific to that platform:
$ git checkout origin/kvm-vexpress-3.9
$ curl http://www.virtualopensystems.com/downloads/guides/kvm_on_chromebook/guest-config > .config
$ ARCH=arm CROSS_COMPILE=arm-linux-gnueabihf- make zImage dtbs -j4
Then we can append the dtb file to the kernel image with:
$ cat arch/arm/boot/dts/rtsm_ve-cortex_a15x1.dtb >> arch/arm/boot/zImage
That way we only need to handle one file. Make sure to copy arch/arm/boot/zImage for later usage.
Bootloader
If you wish to skip this chapter you can download a pre-compiled binary of the bootloader:
$ wget http://www.virtualopensystems.com/downloads/guides/kvm_on_chromebook/nv_u-boot-snow.kpart
To be able to run KVM on ARM platforms, the kernel has to be booted in hypervisor mode. Because of this relatively recent requirement (due to the introduction of the virtualization extensions), up until now all booting methods would boot the kernel in the standard Supervisor mode.
For the ARM Chromebook the default boot procedure doesn't allow us to boot in hypervisor mode. Although the laptop's boot mechanism is based on the frequently used u-boot, the binary is located in RO memory. Fortunately, a chained u-boot mechanism can be used (i.e. starting another u-boot after the original). We can then enter hypervisor mode from the our custom iteration of u-boot and subsequently load our kernel and userspace.
Checkout the needed u-boot code:
$ git clone git://github.com/virtualopensystems/u-boot.git
$ cd u-boot
$ ./scripts/build.sh
If successful, a message about how to copy the bootloader on the USB flash disk or SD card will appear. We will use it later when preparing the boot medium to start our system. If you have followed the Setting up the boot medium chapter and you have a prepared boot device, then you can update u-boot by running:
$ sudo dd if=nv_uboot-snow.kpart of=/dev/sdX1
Filesystems and booting the host
We will start by creating a basic Ubuntu filesystem for ARM architectures, by utilizing debootstrap:
$ mkdir precise
$ sudo qemu-debootstrap --arch=armel precise ./precise/
As soon as qemu-debootstrap finishes with the filesystem creation, we have to edit some files manually (always as root). First we need to properly tell Ubuntu where the package repositories are located.
Edit etc/apt/sources.list from the created filesystem folder and add:
deb http://ports.ubuntu.com/ precise main restricted universe
deb-src http://ports.ubuntu.com/ precise main restricted universe
Copy etc/init/tty1.conf to ttyAMA0.conf and edit the last tty1 to ttyAMA0 (this step is for the guest userspace).
Additionally, append to etc/network/interfaces the following lines to enable networking:
dns-nameservers 8.8.8.8
auto eth0
iface eth0 inet dhcp
Attention!
Kernel 3.13 also supports Chromebook's internal WiFi module. But you still can connect on the USB 2.0 port, a USB to Ethernet adapter. In case you want to boot without networking, then make sure to remove the line auto eth0 or else your boot time will be in the range of 2 minutes while the kernel tries to bring up a non-existent eth0 interface.
Next, we have to generate a password for the system in order to be able to login:
$ sudo chroot ./precise
$ passwd
By default Chromebook's touchpad is not very responsive. Create the file /etc/X11/xorg.conf.d/50-touchpad.conf with the following contents, for better touchpad support:
Section "InputClass"
 Identifier "touchpad"
 MatchIsTouchpad "on"
 Option "FingerHigh" "5"
 Option "FingerLow" "5"
 Option "TapButton1" "1"
 Option "TapButton2" "2"
 Option "TapButton3" "3"
EndSection
We can now start to install some base packages with apt-get:
$ apt-get update
$ apt-get install gcc make ssh xorg fluxbox tightvncserver git
$ apt-get install libsdl-dev libfdt-dev bridge-utils uml-utilities
$ apt-get clean
$ exit
For the Ubuntu guest we can use the same files, so now it would be a good idea to create an image file of the ubuntu userspace that we just created:
$ dd if=/dev/zero of=./ubuntu.img bs=1MiB count=512
$ mkfs.ext3 ./ubuntu.img
Then, mount the image file and copy the userland files in it:
$ mkdir mnt
$ sudo mount -o loop ubuntu.img mnt/
$ sudo cp -a precise/* mnt/
$ sudo umount mnt/
Wireless networking
To setup the wireless network on the host, we'll need wpasupplicant.
$ sudo chroot ./precise
$ apt-get install wpasupplicant
$ exit
Next, get the WiFi card firmware and extract it to in precise folder:
$ wget http://www.virtualopensystems.com/downloads/guides/kvm_on_chromebook/firmware_mrvl.xz
$ sudo tar xvf firmware_mrvl.xz -C precise/
wpasupplicant will need a configuration file. To generate one automatically run the following command and save its output to /etc/wpa_supplicant.conf. For more options look man wpa_supplicant.conf:
wpa_passphrase "You Network's SSID HERE"
The command will then ask for the Network's password and will output the contents of /etc/wpa_supplicant.conf:
network={
   ssid="MyWPAWiFI"
   #psk="YourPassword"
   psk=PasswordString
}
Optionally you can be more verbose by adding the following fields on the configuration file depending on your wireless setup:
scan_ssid=1 (if the SSID is hidden)
proto=WPA
key_mgmt=WPA-PSK
Tweak etc/network/interfaces to enable WiFi networking (erroneous settings will extend boot up time):
auto lo
iface lo inet loopback

dns-nameservers 8.8.8.8
auto mlan0
iface mlan0 inet dhcp
wpa-driver nl80211
wpa-conf /etc/wpa_supplicant.conf
Note that in case the wireless network does not work, your boot time might be extended to around 2 minutes, trying to bring mlan0 up. Alternatively, edit /etc/init/failsafe.conf and comment out the sleep commands to make the boot process faster.
In case you need to try an alternate configuration you can always restart the service by issuing the following commands:
$ service network-interface restart INTERFACE=mlan0

or
$ ifdown mlan0
$ ifup mlan0
The userspace is now ready, we will later use the files created from this step on both the host (the Chromebook) and the guest.
Android userland creation
For the Android filesystem download the pre-built image:
$ wget http://www.virtualopensystems.com/downloads/guides/kvm_android_on_fastmodels/jb_ve_4_1_1.bz2
Then, create an image file and format it as an ext3 filesystem:
$ dd if=/dev/zero of=./android.img bs=1MiB count=512
$ mkfs.ext3 ./android.img
Finally, mount the image file and extract the userland files in it:
$ mkdir mnt
$ sudo mount -o loop android.img mnt
$ sudo tar xpjvf jb_ve_4_1_1.bz2 -C mnt/ --numeric-owner
$ sudo umount mnt
Login or register to access full information